
How to Set Up a Motion Platform for Sim Racing — Complete Guide
TL;DR
Setting up a sim racing motion platform involves four main stages: physical assembly, software installation (SimTools), COM port configuration and game profile setup. The process takes most users 6–10 hours in total — including assembly. The intimidating part is the software; it looks complex but follows logical steps. This guide takes you through each stage with the DOF Reality H3 and H6 as the primary reference platforms.
Table of Contents
1. Before you start — what you will need
2. Stage 1 — Physical assembly
3. Stage 2 — Installing SimTools
4. Stage 3 — Configuring the COM port connection
5. Stage 4 — Setting up your first game profile
6. Stage 5 — Tuning your motion profiles
7. Common problems and fixes
8. FAQ
Before You Start — What You Will Need
Before you begin assembly or software installation, confirm you have the following:
Hardware:
• The motion platform itself (DOF Reality H3, H6 or similar)
• A PC running Windows 10 or Windows 11 (motion platforms do not support macOS or Linux natively)
• A USB to RS232 serial adapter (check whether your platform includes one — some do, some do not)
• A standard UK 3-pin power socket within reach of the platform
• A second person for the assembly stages involving heavy steel frame sections
Software (free to download):
• SimTools v3 — the motion platform software (download at xsimulator.net
[ https://www.xsimulator.net/community/faq/simtools-the-official-faq.117/ ])
• The DOF Reality plugin for SimTools (available from the DOF Reality website or the xsimulator community)
• Game-specific SimTools plugins for your sim titles (available free from the xsimulator plugin repository)
Optional but recommended:
• SimHub — an alternative/complementary dashboard and effects application
• USB extension cable if your PC is not close to the platform
• Rubber isolation pads for the platform feet (reduce noise and vibration transmission)
Stage 1 — Physical Assembly
Read the manual first
DOF Reality provides a downloadable assembly manual. Read it in full before touching any components. Lay all parts out and identify them against the parts list before starting. This single step prevents the most common assembly frustrations.
Assembly sequence for DOF Reality H3 and H6
Step 1 — Base frame assembly
Begin with the ground-level base frame. Bolt the main rails together using the supplied M10 bolts and ensure all connections are snug but not fully tightened at this stage — you will want some adjustment during alignment.
Step 2 — Motor mount installation
The motor brackets are the most alignment-sensitive parts of the assembly. The motor shafts must be parallel and correctly positioned relative to the platform frame. Take your time here — rushed motor mount alignment causes uneven movement and mechanical noise in operation. A second person is useful for holding brackets in position while bolts are started.
Step 3 — Main platform frame
The upper platform frame that your cockpit will mount to goes on next. This is the heaviest single assembly stage and is where a second person is most critical. Do not attempt to lift and position the main frame alone — the weight is manageable with two people and awkward with one.
Step 4 — Wiring
Route the motor cables carefully through the provided cable management channels. Avoid sharp bends, particularly near connector ends. Ensure no cables are in a position where platform movement could pinch or strain them.
Step 5 — Final tightening and check
Once the frame is aligned and the cockpit components are mounted, go through every bolted connection and tighten fully. A torque wrench is not required but all M8 and M10 bolts should be firmly tightened. Loose bolts develop vibration noise and can work further loose during operation.
Step 6 — Mount your cockpit
Your sim racing cockpit frame mounts to the upper platform surface using the provided mounting hardware. The specific method varies by cockpit — most use M8 bolts through the platform's mounting holes into the cockpit's main rail. Ensure the cockpit is mounted rigidly with no movement relative to the platform surface.
Stage 2 — Installing SimTools
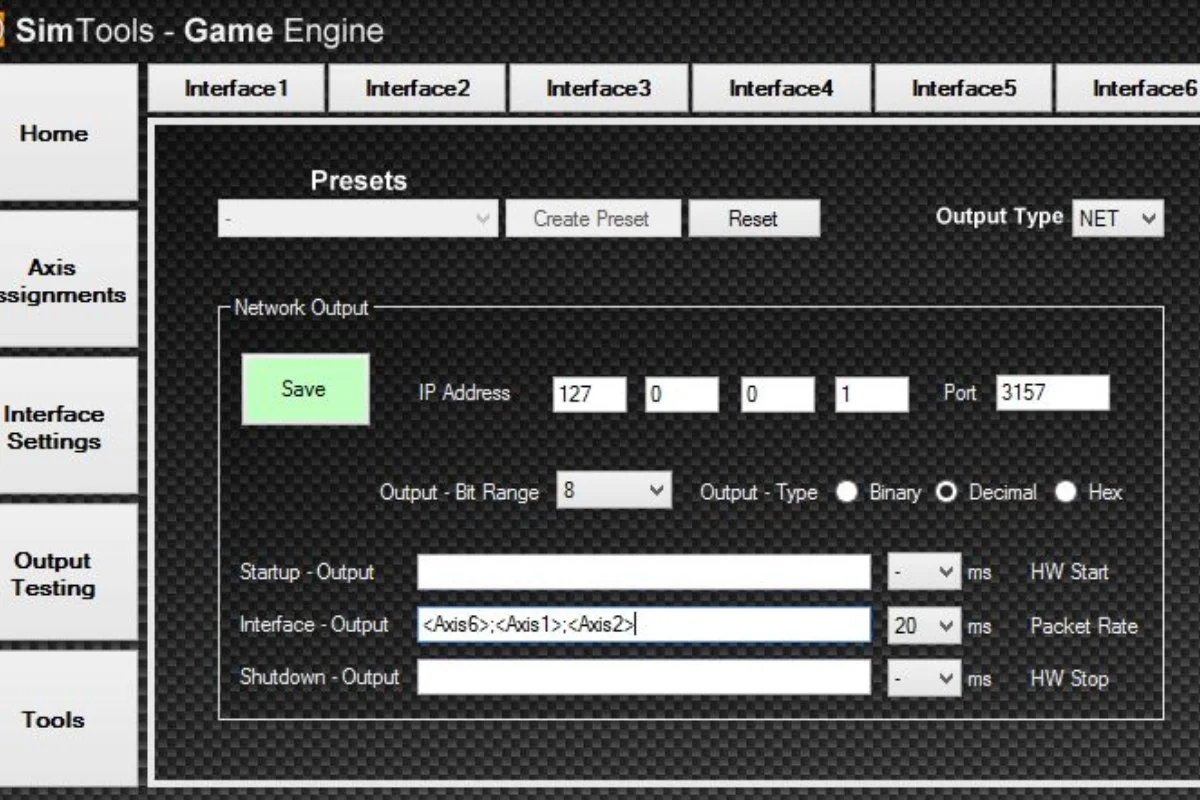
SimTools is the software that reads game data, processes it and sends movement commands to the platform. It runs as a background application on your PC.
Download and install SimTools v3 from xsimulator.net. Create a free account if you do not have one — this is required to access the download and to download game plugins.
After installation, SimTools will prompt you to configure your interface. For DOF Reality platforms, select Interface DOF-Reality from the plugin list. If the interface is not in the list, download and install the DOF Reality SimTools plugin from the DOF Reality support page.
SimTools runs two separate components: Game Engine (which reads telemetry from the game) and Game Manager (which handles profiles and configuration). Both need to be running during use.
Stage 3 — Configuring the COM Port Connection
The platform communicates with your PC via a serial connection over USB. This requires identifying the correct COM port.
Step 1 — Connect the platform's USB cable to your PC. If using a USB to RS232 adapter, connect that too.
Step 2 — Open Windows Device Manager (right-click the Start button → Device Manager). Under Ports (COM & LPT), you should see a new entry when the platform is connected — usually labelled "USB Serial Port" or "CH340" depending on the adapter type. Note the COM port number (e.g., COM4, COM7).
Step 3 — In SimTools, open the Interface Settings for your DOF Reality platform. Set the COM port to match the number you identified in Device Manager. Set the baud rate to 115200 (the standard for DOF Reality platforms).
Step 4 — Click Connect. A successful connection shows a green status indicator. If it fails, double-check the COM port number and ensure no other application is using the same port.
Stage 4 — Setting Up Your First Game Profile
Game profiles tell SimTools how to translate the telemetry from a specific game into platform movement commands.
Download the game plugin for your first title from the xsimulator plugin repository. For Assetto Corsa, ACC, iRacing and most major titles, plugins are freely available and regularly updated by the community.
Install the plugin following the included instructions — most involve placing files in specific SimTools directories.
In SimTools Game Manager, add your game using the Add Game function. Point SimTools to the game's executable and select the installed plugin.
Run the game and start a session. In SimTools, check that the telemetry indicators are registering — you should see values changing in the interface as the car moves on screen.
Initial axis assignment — in the Interface settings, assign your platform's axes (Pitch, Roll, Yaw/Traction Loss for the H3) to the corresponding SimTools outputs. Start with the default assignments if this is your first setup.
Stage 5 — Tuning Your Motion Profiles
Out-of-the-box motion profiles are a starting point, not a finished result. Tuning is where you dial in a motion experience that suits your preferences and driving style.
Key parameters to understand
Intensity — how much of the axis range is used relative to the game data. Too high and every small input throws the platform dramatically. Too low and the feedback is barely perceptible. Start at 50% intensity and adjust from there.
Smoothing — how aggressively the platform's movement is smoothed out. High smoothing reduces sharp mechanical movements but can make the feedback feel sluggish and late. Zero smoothing is fast but can feel jerky. Most users settle between 10–30% smoothing.
Min/Max clipping — the limits of platform travel used for each type of input. Clipping traction loss at a lower value than pitch, for example, means the platform responds proportionally to the severity of slides vs direction changes.
Direction — ensure the pitch axis direction is correct: the platform should tilt forward (toward the screen) under braking, not backward. If it is inverted, reverse the axis direction in SimTools.
Tuning process
Start a session and drive normally for a few laps at your default settings. Note which axis feels too strong, too weak or incorrectly timed. Adjust one parameter at a time, test for a few laps, and adjust again. Expect to spend several sessions over multiple days to reach a profile you are genuinely happy with.
Save your profile with the game name — you will want separate profiles for different titles as each game's telemetry output varies.
Common Problems and Fixes
Platform is not moving
Check the COM port connection in SimTools — this is the most common cause. Also ensure the platform's power supply is connected and the power switch is on.
Movement feels inverted (braking tilts platform backward)
Reverse the axis direction for the relevant axis in SimTools Interface Settings.
Jerky or mechanical movement
Increase smoothing. Also check all frame bolts are fully tightened — loose hardware amplifies mechanical noise and abrupt motion.
Game telemetry not registering
Ensure SimTools Game Engine is running. Some games require specific settings enabled — Assetto Corsa requires motion data output enabled in its app.ini file, for example.
Platform moves during menus but stops in game (or vice versa)
Check the game profile is correctly assigned and the plugin is properly installed.
FAQ
Do I need SimTools to use a DOF Reality motion platform?
SimTools is the primary software for DOF Reality platforms and the most widely supported option. SimHub is an alternative for some configurations. SimTools is the recommended starting point.
Is SimTools free?
SimTools has a free tier that covers basic functionality. A paid licence (approximately €50) unlocks advanced features including more axis assignments and additional outputs. For most users, starting on the free tier is sensible — upgrade when you understand what the paid features offer.
How often should I retune my motion profiles?
When you change game, when you update SimTools or a game, or when the motion feels off compared to how you expect the car to behave. Some sim racers also tune seasonally as their driving style develops.
Can I use a DOF Reality motion platform with a MacOS PC?
No — SimTools is Windows-only. A Windows machine is required for motion platform control.
Where can I get help with SimTools setup?
The xsimulator.net community forum is the best resource. It has extensive documentation, a helpful community and a searchable archive of solutions to common setup problems. DOF Reality also provides support documentation on their website.
Does SimTorque provide setup support for their motion platforms?
SimTorque can be contacted at support@simtorque.co.uk for product questions. The SimTools and xsimulator communities are the best resource for detailed software configuration questions.